Polymer Clay Earrings With Rubber Stamps
Hello crafty friends! Design team member Lauren here, bringing you a tutorial for using some of Ann's designs to make cute polymer clay earrings! I promise you, it's not very hard, and you can use a lot of things you already have in your crafty arsenal! I have a video tutorial for you to show you how I made these:

I'm going to talk about the tools I used in the video, but below I'm also going to give you some alternatives so that you don't have to buy much if you'd like to try this out. I am not a clay expert by any means, and there are many tutorials out there for clay jewelry, but I'll share what I have researched and tried so far. Bear with me, as the post is a little lengthy, but I promise it's worth it to try this fun technique!
First things first, CLAY:
In the video I'm using Sculpey Premo clay. Sculpey is usually available in major craft stores and online, as well as directly from the Sculpey website. Unfortunately at the moment, it's a little bit hard to get all the colors because of COVID. Sculpey Premo and Sculpey Souffle are the two best types for Jewelry making; they bake to a nice flexible finish and don't break easily. Sculpey III is a little more readily available in the stores at the moment but a lot of people who make and sell clay jewelry say it breaks more easily. If you are just starting out, and you're only making a little bit of jewelry for yourself, there's no reason you can't try it. I used it when I was starting out months, and so far the pieces I made for myself haven't broken!
There are a few other brands that are good for jewelry as well, like Fimo, Kato and Cernit. I do not have experience with those but you can research that information as well.
STAMPS
In this video, I show you techniques using red rubber stamps and photopolymer stamps. I much prefer the red rubber stamps for two reasons:
1) The red rubber is very deeply etched, and leaves a nice deep, clean impression in the clay
2) The red rubber does not stick to the clay, and the backing does not stick to the rolling pin. With the photopolymer stamps, you'll see me use plastic wrap between the stamp and the clay, as well as between the stamp and the roller, so that it doesn't stick. Does it work? YES. Definitely. It is simply a fussier process and a shallower impression.
BASIC TOOLS:
Rolling tool - Mine is a fondant roller from Amazon. There are a lot of choices, and you should be able to find one easily at a craft store with a coupon!
Depth Guides - I bought dough guides on Amazon, but you can also stack and adhere pieces of cardstock or playing cards together to the thickness that you want.
Cutters - I have picked up some cutters from small business independent sellers on Etsy and they're very inexpensive. Depending on the size they range from 2-5 dollars. However, if you're a papercrafter and you have die cutting supplies or a cricut, you can make your own shape templates and cut around them with a craft knife!
Clay slicing blade - I would recommend this, as it is used for slicing/chopping/unsticking the clay, but you could also try running some fishing line or thread underneath it for unsticking it or cutting slices.
Glass Mat - I already had a glass mat for papercrafting, but many people like to use ceramic tiles from a home improvement store; they're very cheap and you can actually stick the tile right in the oven without moving the pieces when you are ready to bake.
ASSEMBLING TOOLS:
Sanding - In the video I am using a mini dremel with felt attachments to sand down the edges of my earrings. You can use regular sand paper, but be sure to use WET sanding paper, because if you dry sand you will grind white residue into the clay, so anything other than white clay will not look nice.
Drilling - In the video, I am using a small hand drill to make the holes after the clay is baked. If you have a dremel, you can use the drill bits to make your holes (I forgot to fully charge my dremel before the video so the battery was dying!) You can very easily use a craft pick or a toothpick to make the hole before you bake the clay, and there will be no need for any additional tools.
Glue - If you are going to glue earring posts or anything else to your pieces, the polymer clay world recommends the Loctite Gel superglue. I know many crafters love the E6000 glue but it isn't recommended in this case.
JEWELRY FINDINGS
You can use any findings that you want to assemble your jewelry! In the video I'm using blank earring posts from Amazon, as well as 8mm jump rings from Amazon. If you have old jewelry at home that you don't wear, or earrings missing a match, you can even disassemble them and use the pieces with the clay. If you have plain hoop earrings, you can make your hole in the clay piece and slide it on the hoop!
EXTRA FUN:
If you are a papercrafter, there are a lot of other supplies that you might have that work well with polymer clay!
Stencils - Stencils are fabulous to use; once you roll out your clay, lie the stencil on top and gently roller over it to leave an impression in the clay.
Alcohol ink - Alcohol inks are very popular with polymer clay artists! They are frequently used to tint the clay, and you can even use them on the surface of the clay with similar techniques that you might use on paper. They work especially well when tinting translucent clay.
Gilding Flakes - In the video you will see me use gilding flakes! There are lots of great techniques with gilding flakes and they bake very well in the clay.
I hope you enjoyed this tutorial and you try making some wearable art with your stamps and papercrafting supplies! Post your beautiful creations on social media and be sure to tag Ann Corbiere-Scott Designs so we can see what you make!
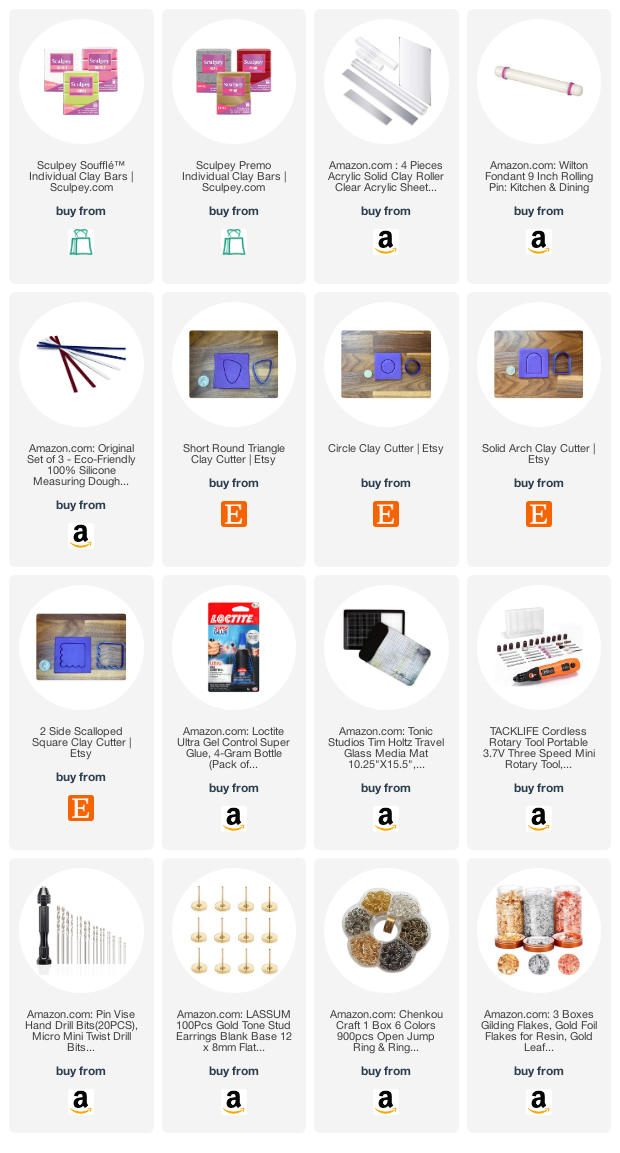
SUPPLY LIST: